
Setting up the Klaviyo Plugin
As Klaviyo is a third party, this is only intended as a general guide and these instructions may change at any stage.
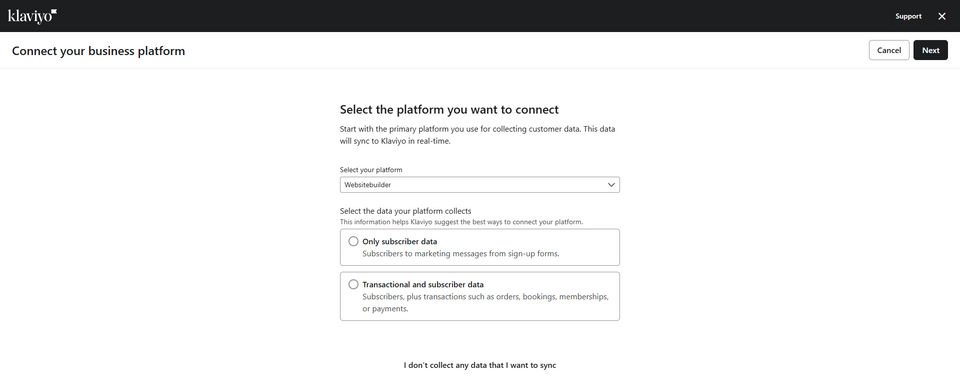
1. In your Klaviyo dashboard, navigate to the Connect your business platform screen.
2. Select Websitebuilder from the list.
3. Select whether you want only subscriber data or transactional data to flow.
4. Press the Next button
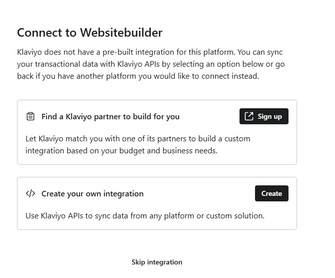
5. You will see this screen below next, select Create Your Own Integration. This sounds difficult, but is simple to do. You only need to create a key.
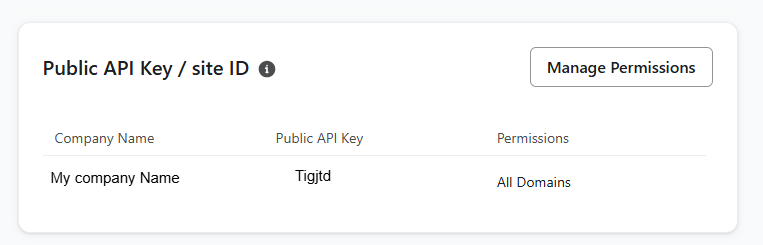
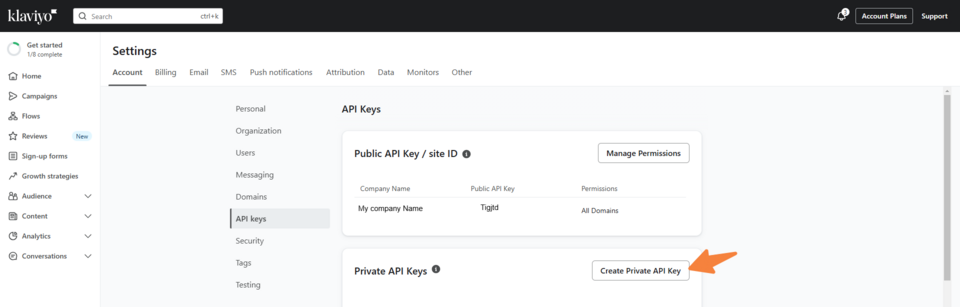
6. On the next screen, you will see Your Public API Key section.
7. Select Manage Permissions
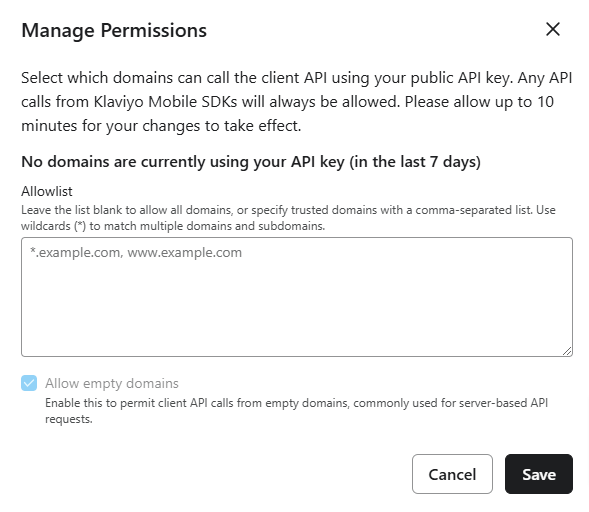
8. Add your website domain
9. Save
10. On the next screen, Select Create Private API Key
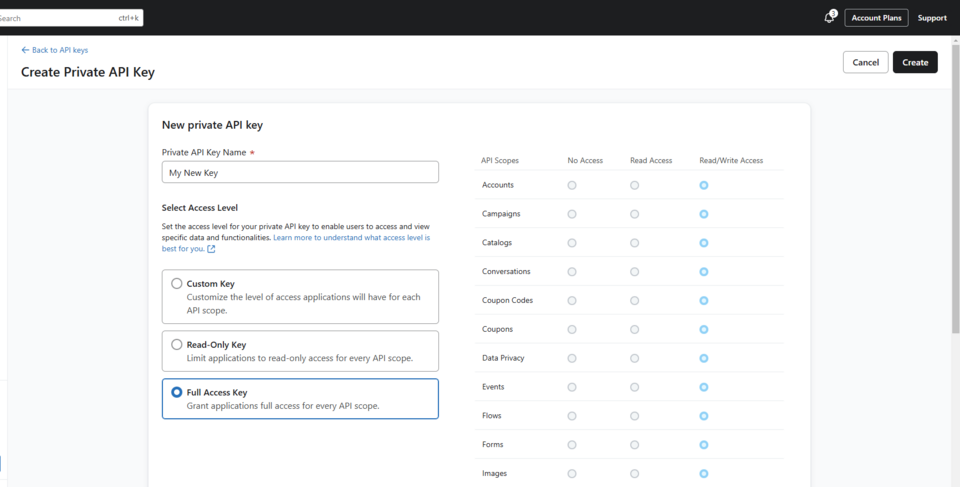
11. Add a Private API Key Name - something that you will know it by.
12. Select the required access level.
13. Press Create
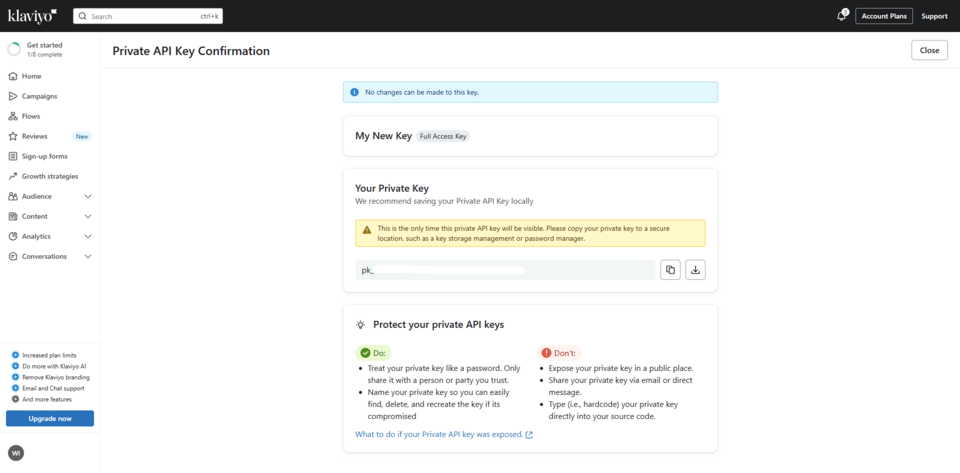
14. On the next screen, you will see your private key displayed. Copy and paste this somewhere safe or download it. You will only be shown this key once. You will need this key in the next steps. Once you have done this, close this screen.
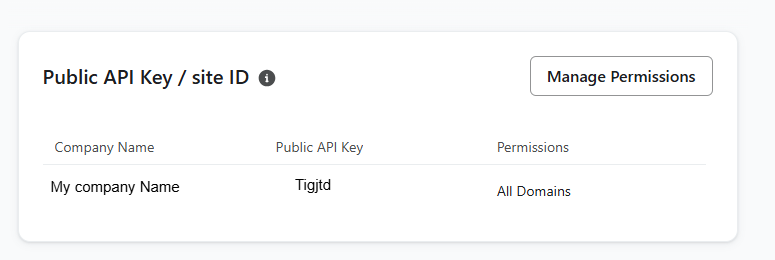
15. On the next screen, also copy and paste your Public API key/Site ID somewhere for the next step.
16. Then, in the website CMS, navigate to E-commerce
17. Navigate down to the plugins area.
18. Locate the Klaviyo plugin and press the + button
19. Confirm the addition of the plugin.
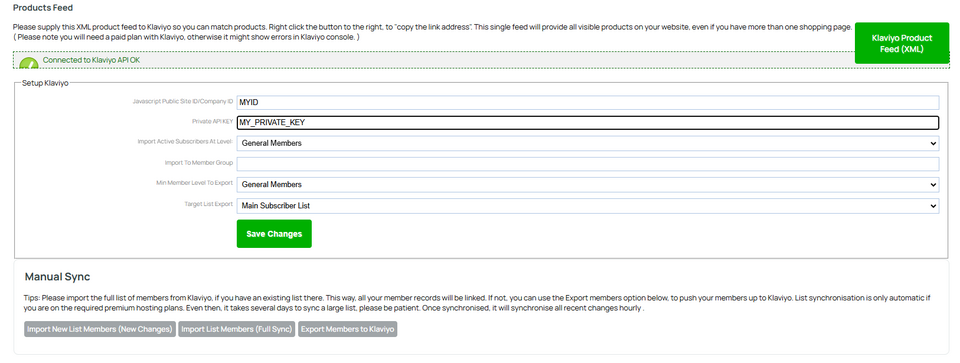
20. In the next screen, scroll down and add your Public Site ID and Private API key in the boxes provided.
21. Save changes.
You will then see a screen as below, confirming the connection, and showing some more options regarding importing/exporting.
At the very bottom of the screen are some manual buttons you can press to import or export members to or from the CMS/Klaviyo for the initial import/export.
Customer actions tracking
The Klaviyo Plugin embeds a javascript plugin into shopping pages that will sync a number of customer browsing actions and events to Klaviyo. Such as:
- View product
- Add to cart
- Start checkout
- Customer login etc.
Klaviyo Feed
We provide a data feed for use with Klaviyo, automatically generated by the CMS. The provides information on all products, including products on multiple shopping pages.
This feed can be linked to Klaviyo via the Klaviyo dashboard.
Where to find the link to your feed
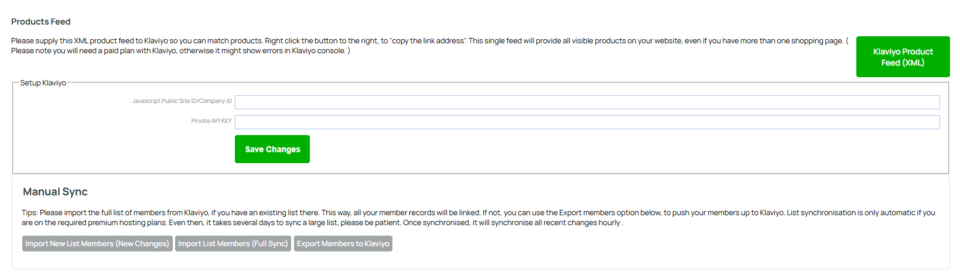
The feed link can be found in the main plugin page under the Products Feed heading.
Right-click the Klaviyo Product Feed (XML) button and from the popup menu that appears, choose Copy Link Address. You can then paste this link into the relevant area in Klaviyo.
Common questions regarding the Klaviyo feed
For answers to some common questions regarding the Klaviyo Data Feed - please see the following help page: