
Adding / Renaming a custom filename to your pages
Adding / Renaming a single pages filename via the left-hand menu

Go to web pages in the left hand menu. Find the page you would like to rename in the main web pages area.
Hover over the page and click the COG ICON to go to the page options for the page.

Scroll down to the SEARCH ENGINE OPTIMISATION area and add a custom filename, no spaces or special characters allowed.
Adding / Renaming filenames in bulk via the SEO area

Change filenames in bulk via the main SEO button, then click the OPTIMISE WEB PAGES META TAGS area.

This will preset you with a list of pages on the site, you can edit all the page meta information, including the filename in the right-hand column
Things to consider when adding or changing filenames
Home pages should not have a filename
Filenames need to be unique
So that the CMS does not get confused as to which page a link should go to, each filename added needs to be unique. You can use hyphens (-) or underscores (_) to help make filenames unique as spaces in filenames are not allowed.
Adding a / in front of the filename
If you want the filename to appear as https://mydomain.com/filename add a / in front of the filename. By default adding just the filename prepends the page type in front of the custom filename e.g. https://mydomain.com/page/filename, https://mydomain.com/blog/filename, https://mydomain.com/product/filename
If you change a filename from one custom filename to another any in-page links you created in the content must be updated manually.
Any links that you add to images or text in your page content will need to be updated manually to point to a new custom filename if you have linked it to the old custom filename.
You can use redirects to automatically redirect visitors as shown further down the page.
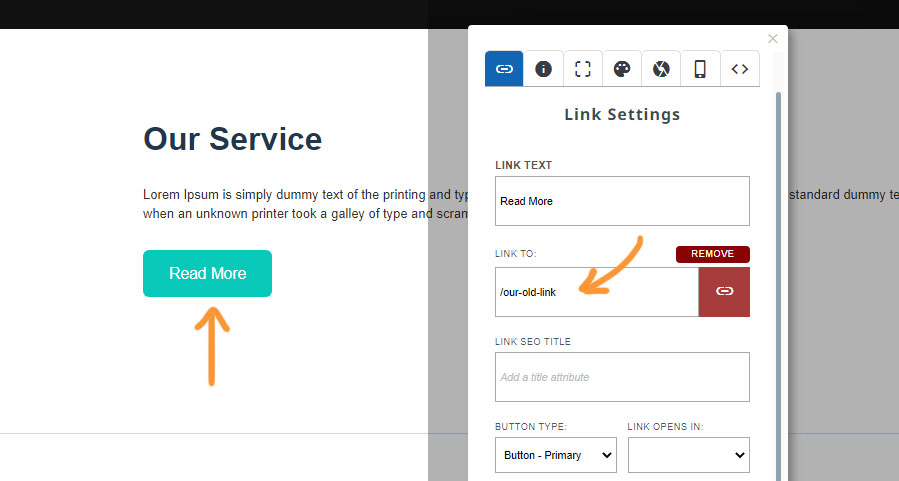
Example of in-page content that needs to be manually re-linked. This button was linked to an /our-old-link and needs be updated the the new one.
If you change a filename from one custom filename to another any menu links will update automatically.
Menu links and other system generated pages such as products shown in the product list and main menu or category menus will update automatically on publish.
Using file redirects to automatically redirect old links to new.
You can use the SEO > FILE REDIRECTS area to set redirects to automatically take visitors from the old link to the new one.
I have added a new page and given it a custom filename - when previewing the page it comes up blank?
If you add a custom filename to a page, it will not appear until you PUBLISH the page to write the custom filename to your web hosting.